Nitro Brew coffee and (almost) everything you ‘d like to know about it – part 1
Timon Kaufmann•Beans n Booze
Cold Coffee isn’t the same thing anymore. People drink it by choice. And they like it. Even the big coffee company with the mermaid got this one. As wouldn’t this be crazy enough (Cold coffee? Whaaaat…) a couple of forward thinking guys thought to themselves, why not put it into a barrel, charge it with some nitro and serve it on tap? Saves time, money and looks cool. Et voila, Nitro Brew Cold Coffee was born.
Nitro Brew in detail
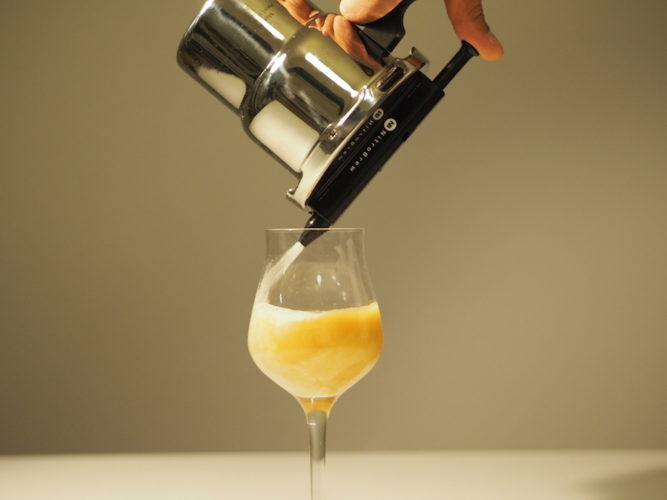
Nitro Brew is basically cold extracted coffee, which is filled in a tap system. The coffee filled barrel is set under pressure by charging it with nitrogen. More than this you need a special stout spout on your tap. This contains a very small perforated plate which causes very fine swirls what results in the nice frothy head and silky mouth feel, you know and love from your Guiness. This results in a fruitier and fresher, but also creamier and richer, cup of coffee. So far you only have been able to have a taste of nitro if you were the lucky owner of a tap system.
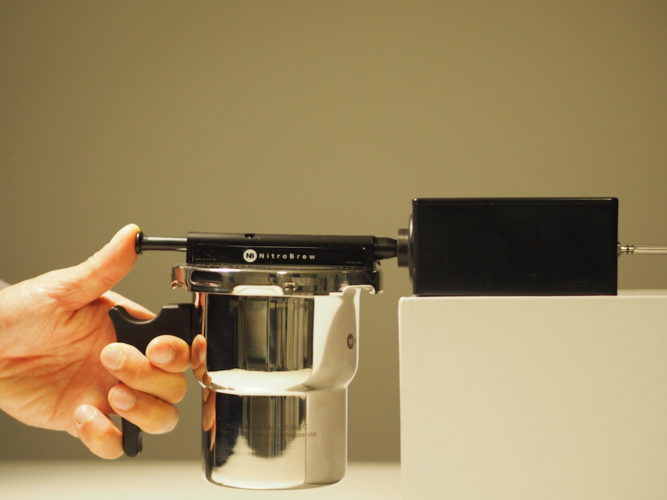
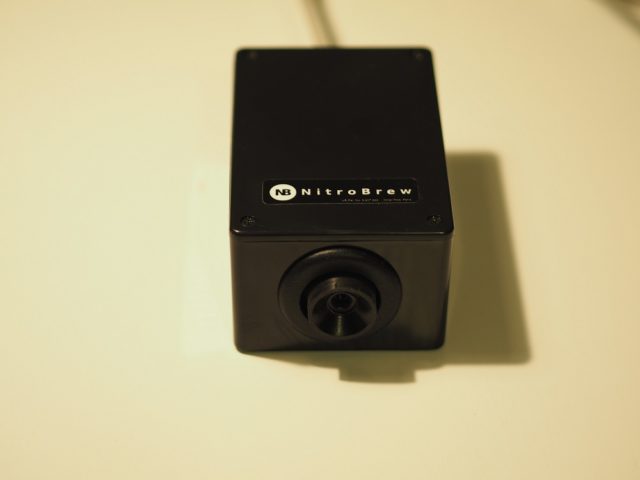
A small company from the USA named, surprisingly suitable, “NitroBrew” tried to solve this problem by inventing a way more handier tool. The result is a little gadget of the same name which allows you to prepare single serves of nitro brew by order, while being less expensive and far more space-saving than every tap.
Trying the Nitro Brew
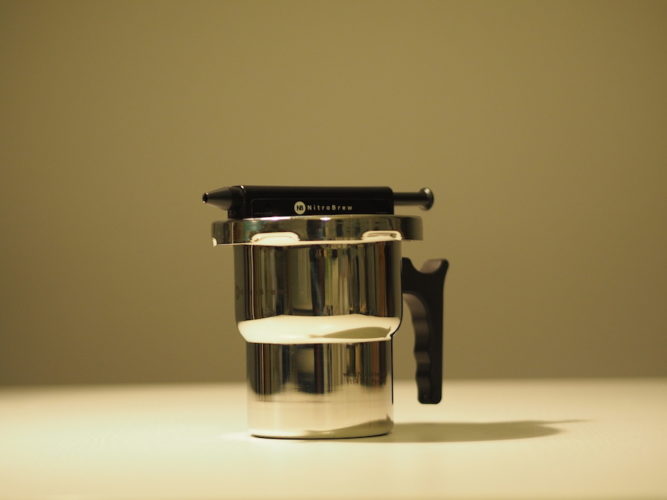
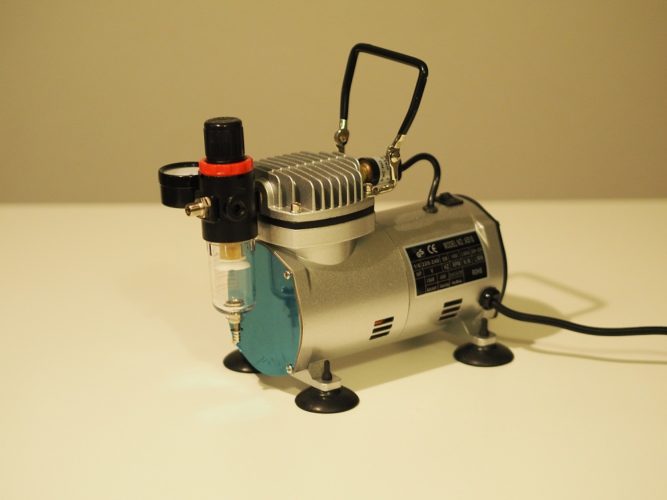
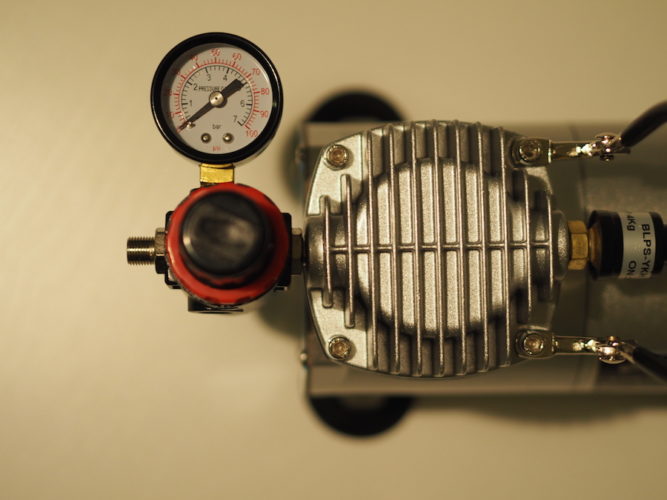
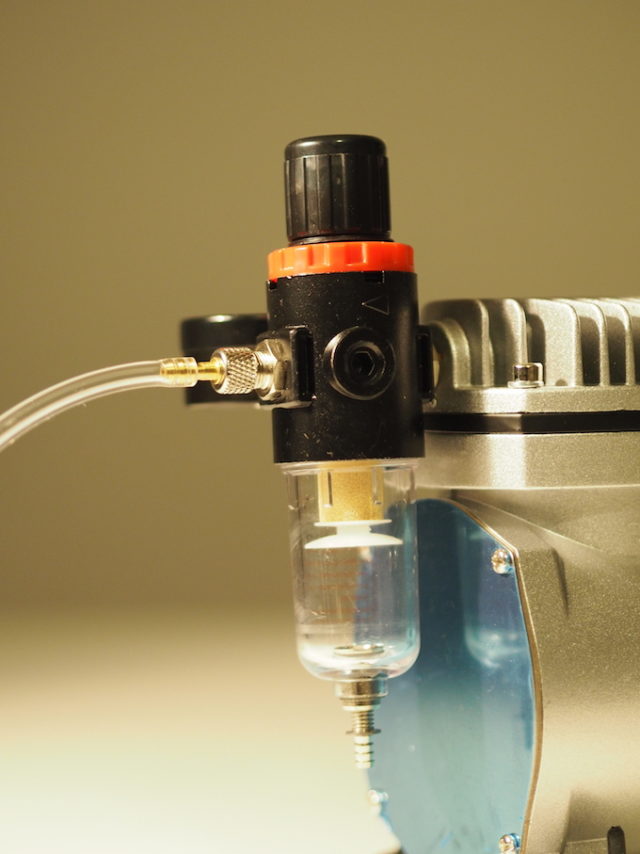
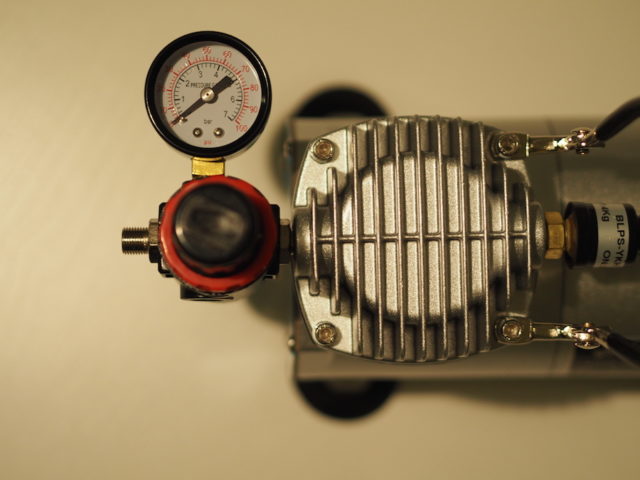
Τhe home kit includes everything you need to get started. A kettle, a compressor with nitrogen filter and pressure control, a charging station, a flexible tube and some double sided sticky tape. You can get the set starting from $355 but it’s also possible to buy all parts separately.
Compressor and the stainless steel kettle make a solid and good quality impression. Only the plastic handle of the kettle seems to quit its service if used too excessive. The instruction already mentions not to shake the kettle by holding the handle. The charging station is made out of plastic as well, but it doesn’t have to handle a lot of force so that shouldn’t be an issue.
Set-up is a piece of cake. You can install everything without any additional tools. The tube connects charging station and compressor easily. If desired, you can apply the station with the sticky tape on top or underneath your counter. Or you leave it as it is and stay flexible. As soon as the compressor is plugged in you’re good to go!
The maximum pressure for the kettle is 45psig (or 3.1 bar). If needed, you can change the preset pressure setting, with a twist of your hand. You can also plug it to a nitro gas container. But therefore some additional tools will be needed… Perfect for the next glamping trip in the middle of nowhere, or a black out.
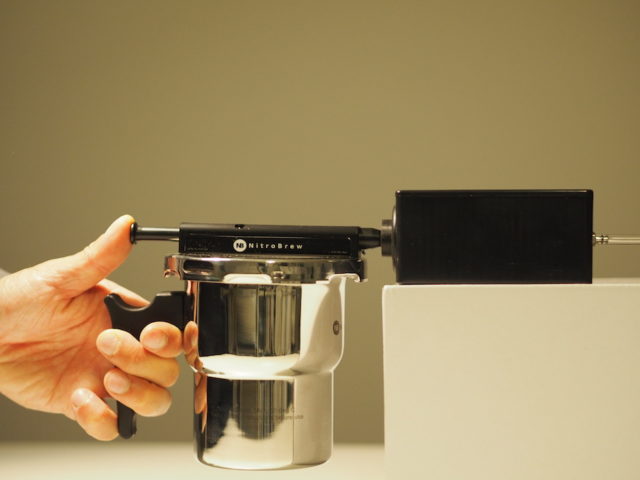
Handling is as easy as the setup. Fill up the kettle with the liquid of your choice, close the lid and load it with nitro by pushing the valve into the charging station. Shake it for a couple of seconds while remembering not to use the handle. Done with that you’re ready to pour your nitro liquid into whatever you want to drink it from.
If you fill the kettle with about 12 oz of liquid the charging process will take around 20 Sec. The more liquid is in the kettle the faster it will charge. You might have to recharge it to sustain the same quality of foaminess.
I had no problems operating the system so far. The only thing that needs some help from time to time is the lid. If it is not put on very accurate, you’ll need to push it down a little to help building up the pressure and forcing the sealing to close tightly.
Cleaning is also no issue. You can just nitro a little water to clean the valve and/or put it into the dishwasher.
To be continued in Part #2…


